 I love glamorous furniture. What is more glamorous than mirrored furniture.....nothing. It is pricey though. So, here is one of my attempts at making it myself. I wish I had some before pics; but alas, I did not think that far ahead. Here is the after pic.....let me know what you think.
 To accomplish this little project, I purchased a nightstand at a consignment store. It cost $50. Before all the doctoring, it was the common french-type furniture they made in the 70's....white with gold trim. First, I painted the whole thing oil-rubbed bronze. I used Rustoleum's Painter's Touch Oil Rubbed Bronze paint. I love leafing on furniture, but that takes sooooo long. For those of us who like shortcuts, metallic paints are nice. They give a shiny look. It's not quite the same as leafing, but good enough for me. In small doses, I think it works.
Next I planned where to put the mirrors. I wanted to cover the drawers, side panels and top, but not every last square inch the nightstand. After some measuring, I made paper patterns and taped them on. This gave me an idea of what the end product would be like. Then I started cutting mirrors. To do this, you need thin cheap mirror squares or pieces. Ikea sells mirrors in something like 12" x 12" sheets.....so does Lowes. These work pretty well. You will also need a glass cutter. I ordered mine off of Amazon.
Cutting glass is sort of an art. It takes some practice. What I learned is that measuring perfectly and using a guide, like a yard stick, is essential. You only want to score the glass once with the cutter......that can't be emphasized enough. Only score the glass once. After it is scored, place the larger piece on the edge of a counter and apply even, downward pressure on the smaller piece. You want your score line to match up with the edge of the counter. The glass will snap and there you have it.....your measured piece of glass. YouTube has some good videos demonstrating glass cutting.
Next, take your glass pieces and glue them to the wood. I used Liquid Nails to do this. You can see that I had to do some piecing to make the project work. I also thought the patchwork look added some interest.
Do note, cutting straight lines is much much easier than cutting curved edges. This can be done, but requires some additional practice and just plain luck. I will make a later posting regarding cutting curves. I did this for another furniture project. Also, of note, drilling holes in glass is tricky. I haven't been able to make this work. So, to attach the pulls, I glued them on too with Liquid Nails. This works okay. Occasionally one of my kids will come along and bash the pull off.....then I re-glue it. I know this isn't optimal, but it works for me.

In total I think this cost me about $80. What do you think? Any suggestions?
After I got the hang of cutting mirrors I went a little crazy and mirrored my filing cabinet. Bad idea.

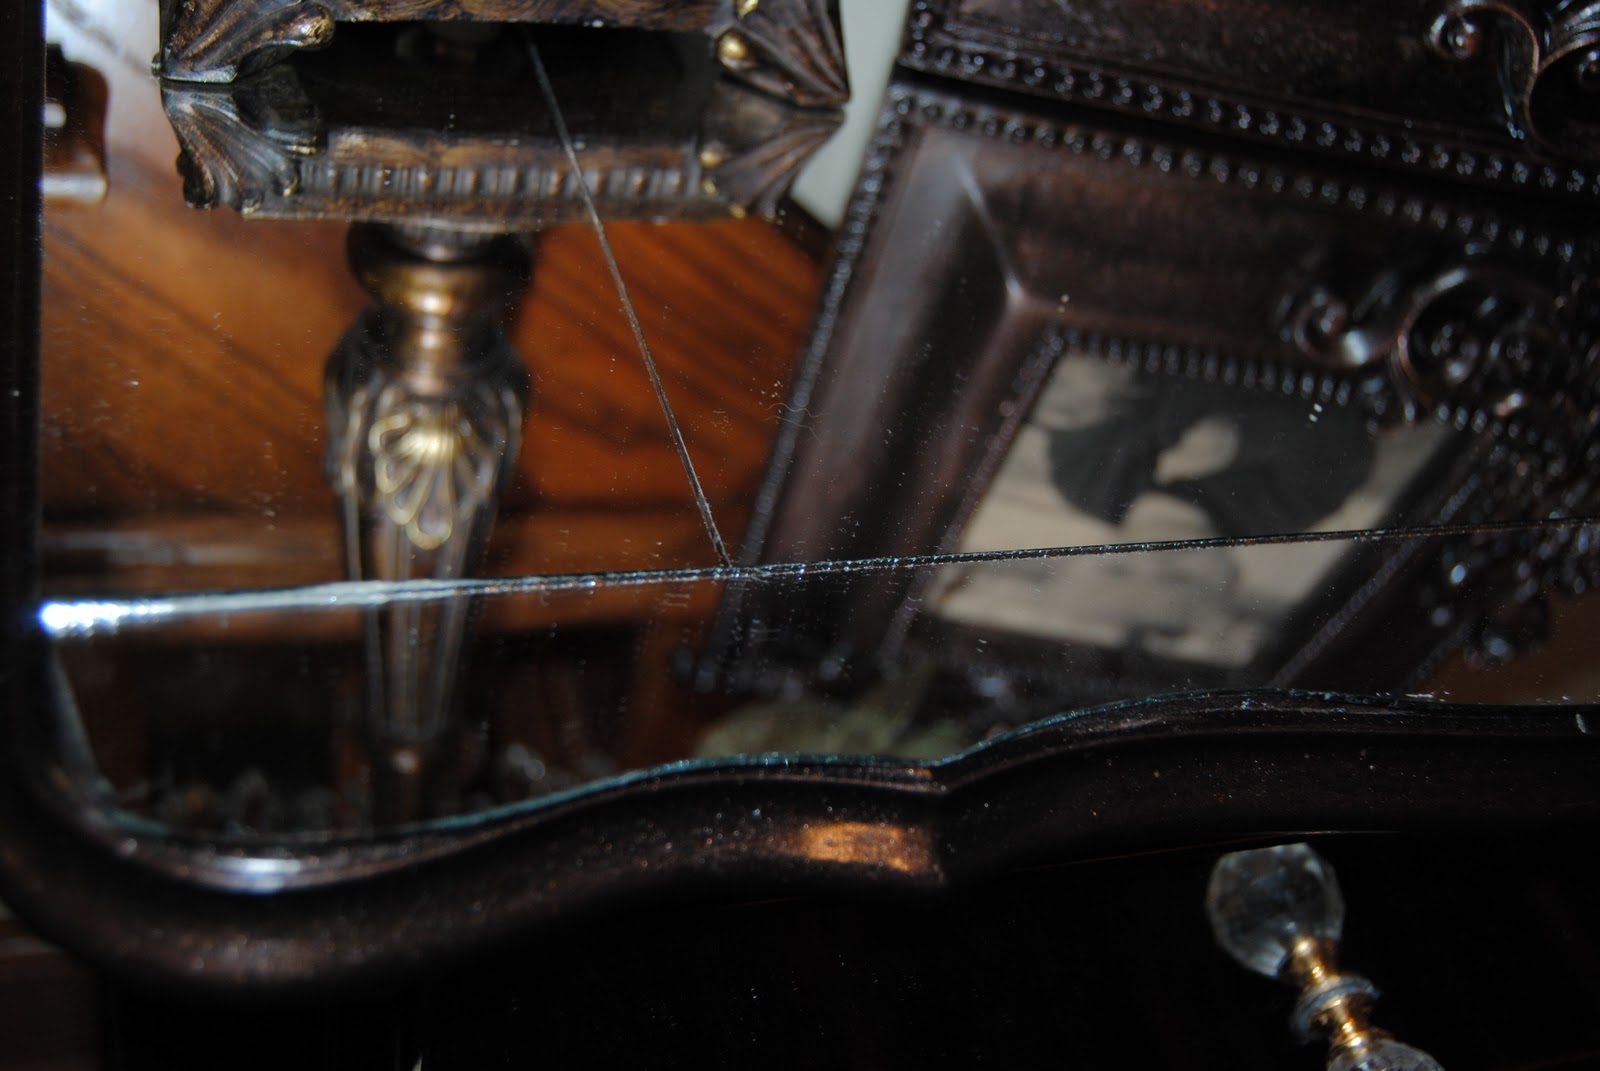
As my husband said, now we have something that is not only big and awkward to move, but fragile as well. These pulls actually had to work well, so instead of just gluing them on, I cut the mirrors around the original drill holes. Like I mentioned before, I haven't mastered drilling mirrors yet. See the cracked mirror? Bad idea.....what was I thinking?
No comments:
Post a Comment